


Combustion Efficiency of 99%

Consumes up to 60% Less Wood

Clean Burning and Virtually Smokeless

Industry Exclusive Front Handle Turbulator Cleaner

Triple Pass Heat Exchanger

Consumes up to 40% Less Wood

Turbo Draft For a Cleaner Burn of Secondary Gasses
Shaker Grates and Removable Ash Pan

Crown Royal's Pristine Series EPA Certified wood boiler is a high efficient and ease to use wood boiler that cleans the furnace with a wave of the hand. The heat exchangers with built-in cleaning turbulators makes daily cleaning only take seconds. Heat multiple buildings with only one furnace while using upto 60% less wood than with conventional stoves.

Crown Royal's Multi Pass boiler has a large firebox makes for long burn times that surpass other traditional stoves. An innovative multi-pass heat exchanger extracts heat through an innovative 3 pass chimney that keeps the exhaust rising and the burn efficiencies optimal.

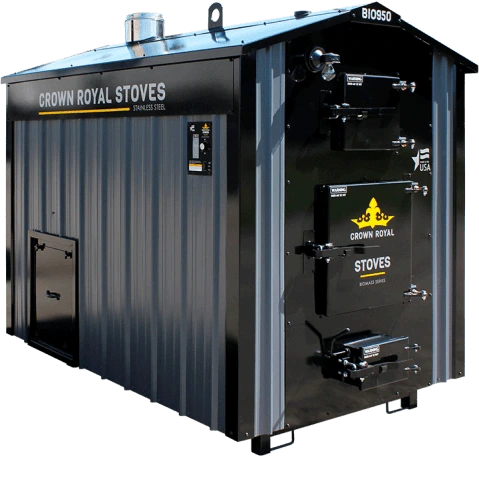
The automated loading of the firebox makes this ideal for large heating demands for commercial applications. Have your choice in wood chips, coal, corn, or wood pellets. Automated auger feeds the fire with easy to use controls.
Flexabiliity from 300,000 to 950,000 BTU
Not all outdoor wood furnaces are created equal. Crown Royal Stoves are built in Internal Falls, Minnesota and are built for the toughest of winters. That is why these boilers have fireboxes made from American 409 stainless steel to give the best performance and longevity. Other manufactures make their fireboxes from lesser grade imported steel. With a 20 year limited warranty on the firebox, Crown Royal stands behind their products for years to come. That is why Wisconsin Wood Furnace only carries the Crowy Royal line of wood boilers.


Not all warranties are created equal, so we encourage you to become an informed customer and read the fine print!
Some indoor / outdoor furnace manufacturers who advertise that they offer a Lifetime Warranty, actually offer little to no warranty, but don’t disclose the details. Protect yourself and your investment, by always asking to see the full warranty. Our 20 Year Warranty provides you the highest quality, longest lasting indoor / outdoor furnace and warranty on the market.

Cut down on the cords of wood you will need by giving us a call to guide you through making the right decision for your needs. From a small home to commercial buildings, proper sized system reduce your fuel consumption and prolongs the life of your entire system.
Serving Southern Wisconsin and Northern Illinois with best outdoor wood boilers and supplies. Call us today or send an email

